Have you ever looked at a photo and felt drawn into it because of the way the light hits the lens just right? That dreamy glow those beautiful streaks across the image chances are you’re admiring a lens flare.
If you’re a beginner in photography or image editing, you might have heard of tools that help you create these effects digitally.
One such tool is the Photeeq lens flare effect a creative feature that adds drama, realism, and mood to your shots in seconds.
In this guide, we’ll break it all down: what Photeeq lens flare is why it matters and how to use it even if you’re just starting out.
What Is Photeeq Lens Flare?
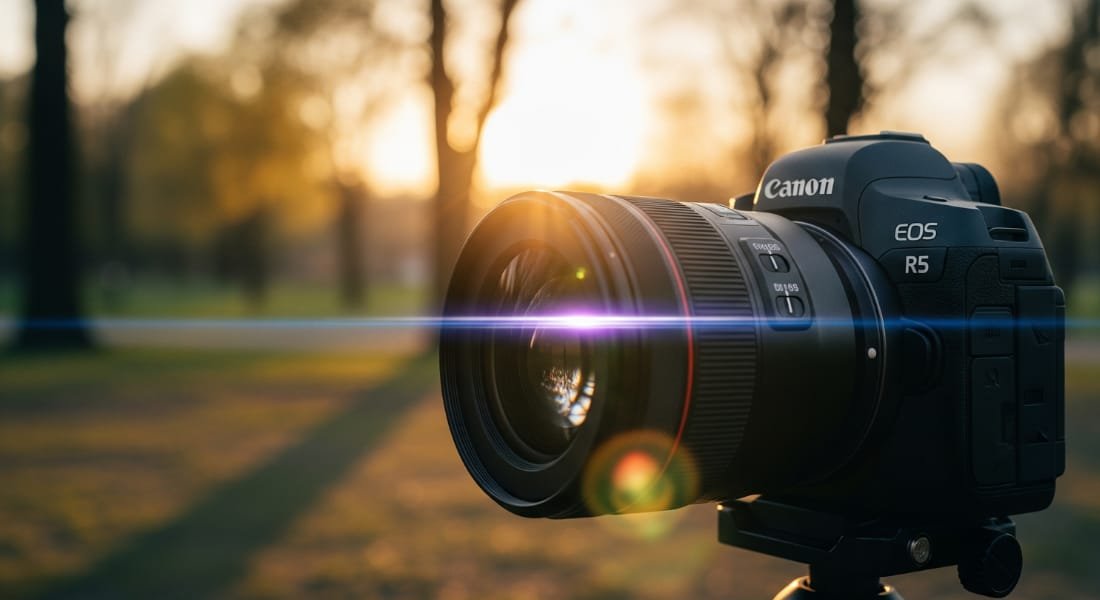
The Photeeq lens flare is a digital effect that simulates the real life phenomenon of light scattering inside a camera lens.
In photography this often happens when a bright light source, like the sun or a studio light, shines directly into the lens, creating visible streaks, circles or orbs of light.
Photeeq, once a popular plugin for tools like Adobe Photoshop and Lightroom, made it incredibly easy to add realistic flares to photos.
While the plugin is no longer actively maintained, many photographers still seek the effect for their post processing needs. It helps create depth, warmth & film like look, especially in digital photography.
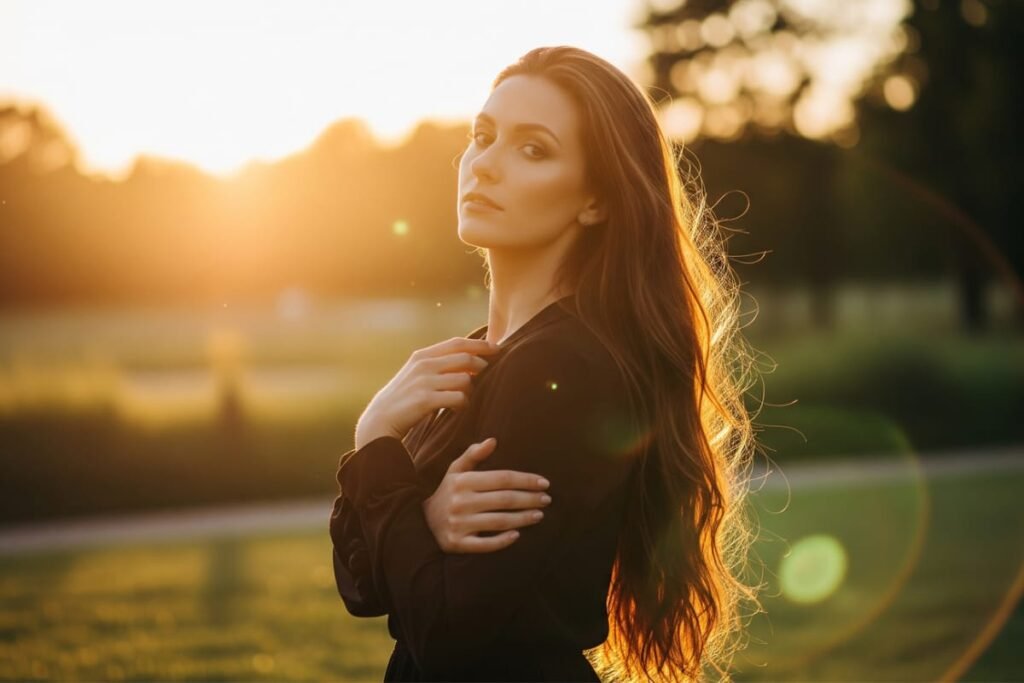
Let’s break it down in simpler terms. Imagine you’re photographing someone outdoors at sunset. Naturally, the sun may create a warm glow around them.
If it doesn’t or if you want to exaggerate that glow for artistic effect you can use the Photeeq lens flare to add that touch digitally.
Why Lens Flares Matter in Photography
Why should you care about adding a lens flare to your photo when you can just take it as is? Great question.
Lens flares bring mood, atmosphere, and emotion into a shot. They’re not just pretty they serve a purpose.
- They create dynamic lighting effects that enhance storytelling.
- They simulate real world lighting to add authenticity.
- They highlight specific parts of a composition.
- They help draw the viewer’s eye to your subject.
- They add texture and depth, improving the image quality.
Take cinematic movies, for example. In films like Star Trek flares are used purposefully to add a sci fi mood. In artistic photography, they can transform an ordinary scene into a warm, emotional moment.
How Photeeq Lens Flare Works
Let’s say you’re a small business owner shooting a product photo near a window. The natural light looks flat. You want that sun-kissed look. Here’s where Photeeq’s flare tool came into play.
- Import your image into Photoshop or Lightroom.
- Apply the Photeeq plugin.
- Choose from different flare styles: circular, linear, streaks, or ghosting.
- Adjust brightness, position, and opacity.
- Use color grading tools to match the flare with your photo’s tones.
Even though Photeeq is no longer updated, you can replicate its effect using alternative tools or overlays.
Think of it like placing a realistic lighting filter that reacts to the scene’s contrast, saturation, and highlights.
Real World Benefits of Using Lens Flare Effects
Enhance Storytelling
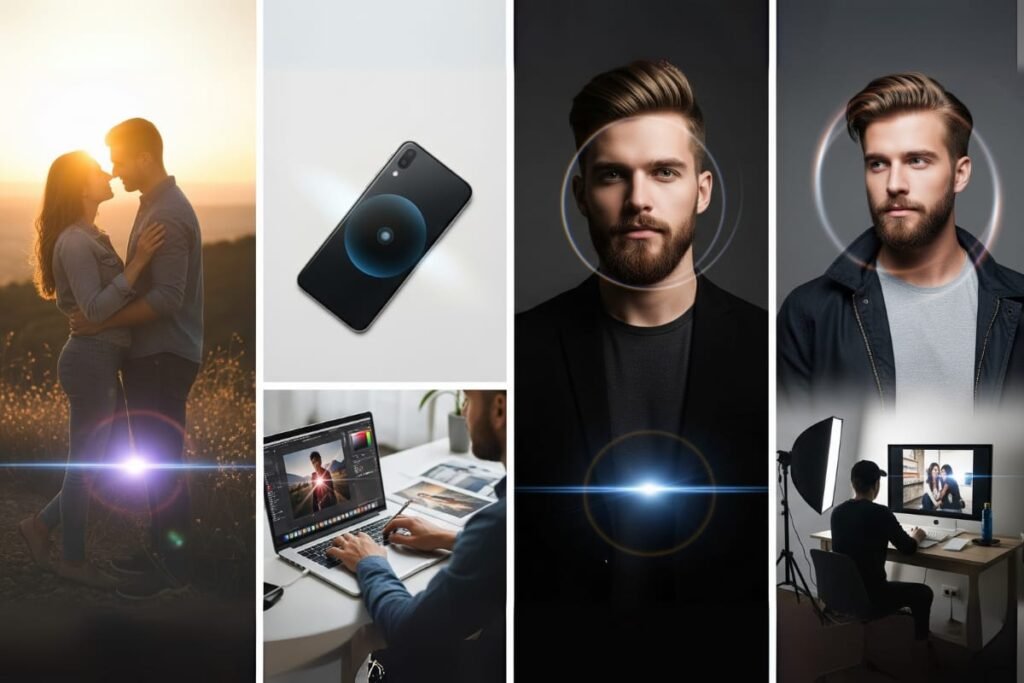
Let’s say you’re capturing a couple during golden hour. Adding a soft flare can bring out the romance of the moment turning a good photo into a stunning one.
Control Light in Post Production
You can’t always wait for perfect lighting. Using a tool like Photeeq Lens flare lets you fix flat lighting in post especially in HDR photography where dynamic lighting plays a crucial role.
Add Visual Interest
Flares create a point of focus. They guide the viewer’s attention, much like how photo filters change the mood of a shot.
Boost Your Artistic Edge
Whether you’re a graphic designer or lifestyle photographer, flares give your images a unique signature style. It’s a quick way to elevate your brand’s visual identity.
Save Time in Shoots
No need to carry complicated lighting setups. Instead of reshooting or waiting for the right weather, apply the lens flare digitally.
Step by Step: How to Create a Photeeq Style Lens Flare
Even without the Photeeq plugin, you can still simulate the lens flare look using Photoshop or downloadable overlays. Here’s how.
Step 1: Open Your Image in Photoshop
Make sure your photo has a light source, or that you want to simulate one (like the sun, lamp, or headlights).
Step 2: Create a New Layer
This keeps the flare effect separate, allowing you to edit it without harming the original image.
Step 3: Add a Lens Flare Filter
Go to Filter > Render > Lens Flare. Choose a lens type:
- 50-300mm Zoom for dramatic streaks
- 35mm Prime for subtle orbs
Position the flare using the preview window.
Step 4: Adjust Brightness and Blending
Set the layer blending mode to Screen or Lighten. Adjust opacity to blend it naturally.
Step 5: Color Grade for Harmony
Use curves, hue/saturation, or photo filters to make the flare match the overall tone of your image.
Where Photeeq Lens Flare Fits in Your Visual Workflow
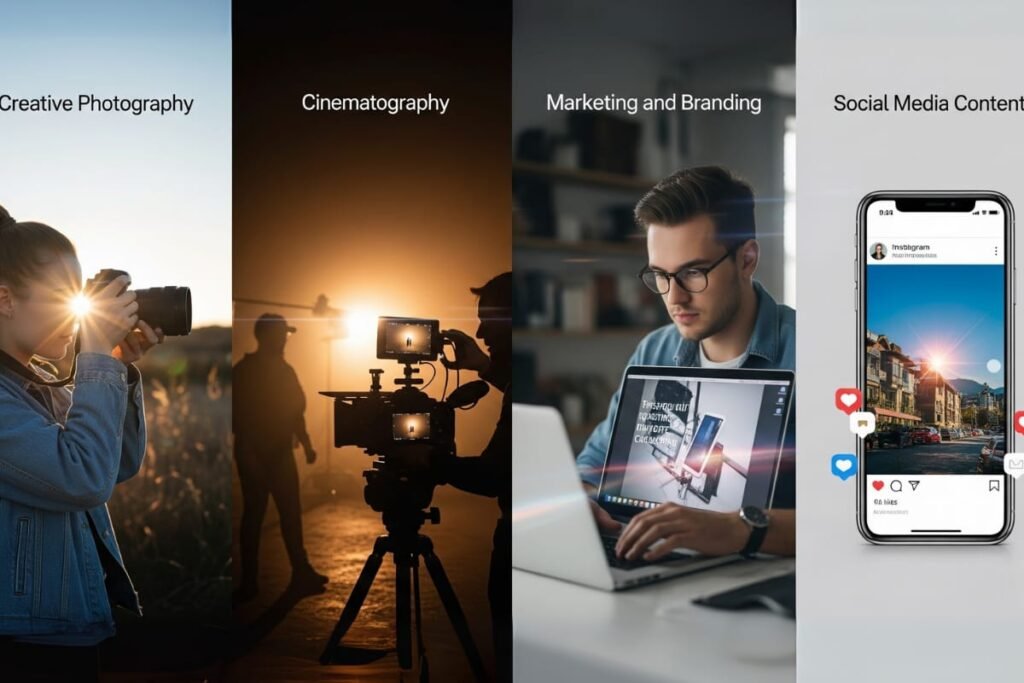
In Creative Photography
Whether it’s portraits, landscapes, or editorial work, lens flares add emotion and storytelling elements to your photos. They help turn good shots into works of art.
In Cinematography
In filmmaking, flares are part of visual effects used to evoke feelings. Think of emotional scenes lit by warm light, made more impactful with controlled flares.
In Marketing and Branding
Brands use high-quality imagery with flares to evoke lifestyle appeal. If you’re in graphic design or marketing, flare-enhanced images increase visual aesthetics and connect emotionally with viewers.
In Social Media Content
Photos with natural looking flares perform well on platforms like Instagram and Pinterest. They stand out in a sea of flat, over-edited photos.
Conclusion
The Photeeq lens flare effect may come from a now defunct plugin, but the style and technique still inspire digital creators today.
Whether you’re editing your first photo or refining a commercial portfolio, learning how to simulate lens flares gives you control over light, mood and message.
With the right tools, techniques, and a little creativity, you can make your images shine literally. Don’t wait for perfect lighting conditions. Make them.
FAQs
Is the Photeeq plugin still available?
No, the original plugin is discontinued, but you can replicate its effects using Photoshop, Lightroom, and overlays.
Can beginners use lens flare effects?
Absolutely! Start with built-in filters or overlays in editing software. They’re beginner-friendly and offer great results.
Are lens flares only used in photography?
No. They’re widely used in filmmaking, graphic design, and even digital illustrations to enhance realism and mood.
Will lens flare effects reduce image quality?
Only if overused. When applied with balance and proper blending, they enhance image quality by adding depth and light dynamics.
How do I make sure the flare looks natural?
Match the direction of your light source and use color grading to blend it with the image. Avoid placing it in shadowed areas.
What are the best alternatives to Photeeq?
Tools like Luminar Neo, Nik Collection, and Topaz Studio offer advanced lens flare effects. You can also use flare overlay packs in Photoshop.