Transforming your garage into a hobbyist 3D printing workshop does not require industrial-grade equipment. What you really need is an entry-level 3D printer that starts up in 10 minutes, features auto-leveling, and works reliably in the changing temperatures of a garage. Add a sturdy workbench, a dry corner for filament, and a clear safety checklist. This guide will walk you through the entire path from space setup and 3D printer selection to your first print and troubleshooting. We want to help you make useful things in your garage rather than just owning a 3D printer that collects dust.
Why a Garage Is a Smart Place for Hobby 3D Printing
Printing 3D models in a living room or bedroom often brings headaches regarding noise, odors, and space. A garage naturally solves these three issues. It offers good ventilation, acoustic isolation, and plenty of workbench space. It also keeps tools and materials nearby. Most importantly, the garage is the birthplace of DIY culture. The tool clips, organizers, and repair parts you print can be used immediately on the neighboring workbench. This creates a loop of printing, using, and iterating.
Many hobbyists choose the garage or a separate shop because of the slight odors from PLA or PETG and the need for heat dissipation. Often, the items they print are functional parts rather than simple decorations.
What to Look for in the Best Hobby 3D Printer
Once you choose the garage as your setting, you must pick the right 3D printer. The core standard for a hobbyist is not the highest specs but rather the fastest startup, fewest failures, and easiest filament management.
Easy setup for first-time users
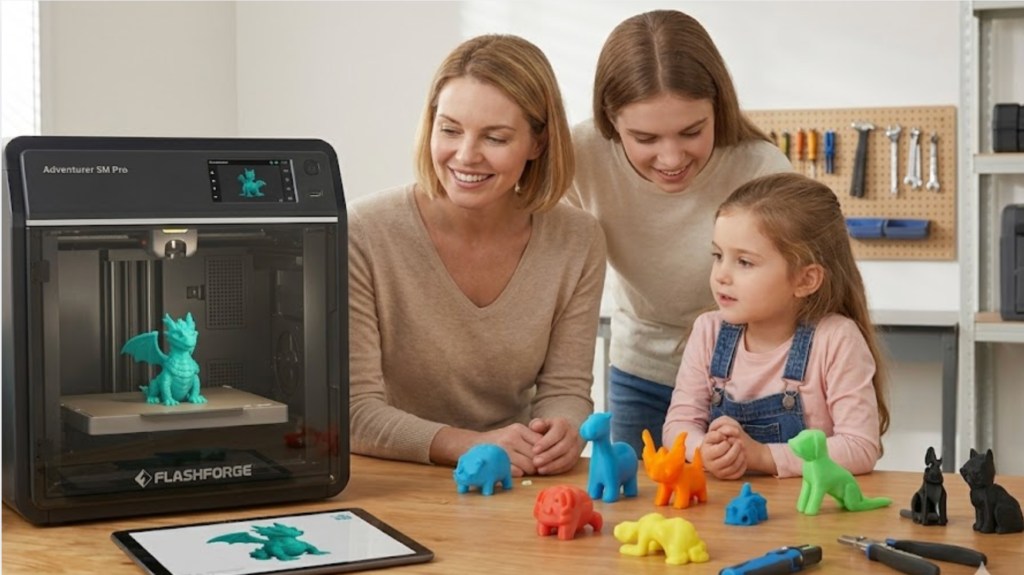
Most beginners fear opening a box only to find dozens of screws and a complex manual. An ideal entry-level 3D printer should be 95% pre-assembled and ready for its first startup within 10 minutes. The Flashforge Adventurer 5M is a benchmark here. It arrives 95% assembled. You only need to install the screen and filament holder to start your first print within 10 minutes.
Reliable prints with less tuning
Your time is a limited resource. Manually leveling the bed, adjusting distances, and tuning flow rates for every print can quickly kill the fun. Features like automatic leveling (ADM system), filament detection, and power loss recovery increase the success rate of a first print from 60% to over 90%.
Safe and simple for home use
In a garage, you might have children, pets, or flammable materials nearby. The safety design of the 3D printer is vital. Look for a removable heat bed, power-off protection, a metal frame, and an optional enclosure. If you plan to use advanced materials like carbon fiber reinforced PLA-CF or PETG-CF, the Flashforge AD5X is a strong choice for the best hobby 3d printer that can grow with you for 2 to 3 years, offering both high-speed performance and multi-material compatibility.
How to Set Up Your Garage for 3D Printing
After choosing a 3D printer, your environment determines the quality of your prints. A garage is not a sterile lab, but a little planning makes it a professional printing space.
Pick a steady workbench
A CoreXY 3D printer produces significant vibration at high speeds of 600 mm/s. You need a solid wood or metal workbench that can support at least 50 kg and has a top thickness of 25 mm or more. Avoid placing your 3D printer on dresser drawers or rolling carts. Even the best vibration compensation algorithms cannot fix a bad first layer caused by a shaky table.
Control dust, moisture, and airflow
Dust and humidity are the biggest threats in a garage. Place your 3D printer in a corner away from the car parking area and floor drains. Keep the humidity below 50%. When winter temperatures drop below 15°C, PLA warping increases. Consider adding an enclosure to stabilize the chamber temperature.
Keep tools and filament within reach
A tool wall is the soul of a garage. Hang your scrapers, tweezers, pliers, hex keys, and spare nozzles 30 cm above the 3D printer. Store filament in sealed boxes with desiccant under the workbench. This allows you to handle everything from startup to filament swaps in one spot.
| Zone | Recommended Size/Config | Purpose |
| Workbench Surface | 80 x 60 cm minimum | Place the 3D printer unit |
| Filament Zone | Sealed boxes + Desiccant | Store PLA / PETG |
| Tool Wall | 60 x 40 cm pegboard | Scrapers, pliers, spares |
| Post-Processing | 30 x 30 cm mat | Support removal, sanding |
First Steps With a Good Beginner 3D Printer
With the environment ready, it is time for action. Finding a good beginner 3d printer like the Flashforge Adventurer 5M ensures a smooth learning curve. These three steps are the path almost every beginner follows:
Level the bed and load filament
Modern entry-level 3D printer units include auto-leveling. The ADM system on the Adventurer 5M automatically measures 25 points before every print. No manual knobs are needed. To load filament, cut the end at a 45 degree angle and insert it into the guide tube until you hear a click.
Run a test print first
Do not start with a 12-hour model. Run a test 3D printed object included with the 3D printer, such as a small cat or a cube. This verifies that the motors, fans, heat bed, screen, and Wi-Fi are working before you start a real project.
Watch the first layer
70% of 3D printing success depends on the first layer. Stay by the 3D printer for the first 5 minutes. Observe if the material sticks evenly to the bed, check for warping, and ensure the nozzle distance is correct. Once the first layer is stable, you can leave the 3D printer alone.
A perfect first layer usually means a successful print. If it looks wrong, stop and restart. It is better to restart than to waste 8 hours on a part that will eventually fail.
Best Materials for Garage Hobby Projects
Hobbyists do not need engineering-grade materials right away. Mastering the basics is more important than frequent experimentation.
| Material | Difficulty | Strength | Typical Garage Use |
| PLA | Low | Medium | Organizers, models, education |
| HS PLA | Low | Medium | High-speed daily parts |
| PETG | Medium | Med-High | Outdoor parts, containers |
| PLA-CF | Med-High | High | Tool brackets, light structures |
| TPU | Med-High | Flexible | Dampening pads, handle grips |
If you mostly make home organizers and tools, PLA and HS PLA will cover 80% of your needs. For outdoor or durable items, switch to PETG. The 0.4 mm nozzle on the Adventurer 5M is ideal for PLA and PETG, while the 0.6 mm nozzle is better for fiber-filled materials like PLA-CF and PETG-CF.
Easy Garage Projects to Start With
Passion fades without a project. These three categories are perfect for any garage workshop.
Tool holders and storage parts
Wrench racks, screwdriver holders, and Gridfinity bins are the core projects of garage 3D printing. The Gridfinity system is a global standard for makers. Models are free on Printables and Thingiverse. A standard 42 mm x 42 mm unit takes about 1 hour to print.
Cable clips and small organizers
Garage wires, cables, and hoses are always tangled. Print a set of cable clips with adhesive backing. It takes five minutes to design and ten minutes to print, instantly improving your organization.
Simple home and repair parts
Broken fridge clips, non-slip caps for chair legs, or washing machine knobs are perfect use cases. These small items are often impossible to buy from the original manufacturer, making 3D printing the best solution.
Quick Tips for Better Prints
A few tips can raise your quality significantly. First, use new filament within 24 hours of opening or dry it at 50°C for 4 hours. Second, wipe the PEI plate with isopropyl alcohol every 30 prints to restore adhesion. Third, set your first-layer speed to 30 mm/s in your slicer, then let the following layers reach 300 to 600 mm/s. This is the best strategy for quality and efficiency.
Common Beginner Problems and Easy Fixes
The three most common issues are warping, stringing, and nozzle clogs. Warping is usually caused by first-layer temperature or a dirty bed. Increasing the heat bed by 5°C or cleaning the PEI plate usually fixes it. Stringing is often due to insufficient retraction or wet filament. Increasing retraction to 1.0–1.5 mm or drying the filament can solve it. For clogs, the Adventurer 5M features a quick-swap nozzle. You can replace the nozzle in 3 seconds and keep printing without disassembling the 3D printer.
Safety Tips for Using a 3D Printer in the Garage
There are several non-negotiable safety rules for the garage. Do not stack boxes, rags, or flammable liquids within 30 cm of the 3D printer. Ensure the outlet is grounded and use a separate overcurrent protection switch. For overnight prints, use a camera. The Adventurer 5M Camera Kit supports remote monitoring so you can check the status while away. If children or pets might enter the area, use an enclosed 3D printer.
When to Upgrade Your Beginner 3D Printer
When should you upgrade? If you print more than 20 hours a week, start using engineering materials like PA-CF or PET-CF, or need parts larger than 220 x 220 x 220 mm, it is time. Moving from an entry-level 3D printer to the AD5M Pro or Creator 5 series provides higher chamber temperatures, more build volume, and wider material compatibility.
Final Thoughts on the Best Hobby 3D Printer for Your Garage
The true joy of garage 3D printing is the instant feedback of solving a problem tonight that you encountered today. Start with a reliable Adventurer 5M, organize your workbench, store your filament properly, and watch your first layer. You will soon find that 3D printing is not just a new hobby; it is a tool that makes all your existing hobbies better. Spend your first budget on a 3D printer that is easy to start and maintain. You are not just buying a spec sheet; you are buying a year of creative freedom.